Javascript is not enabled.

Javascript must be enabled to use this site. Please enable Javascript in your browser and try again.

Skip to content
Content starts here
CLOSE ×
Search
CLOSE ×
Search
Leaving AARP.org Website

You are now leaving AARP.org and going to a website that is not operated by AARP. A different privacy policy and terms of service will apply.

How to Photograph the Northern Lights

Tips to take great pictures of the aurora borealis, including the optimal camera settings

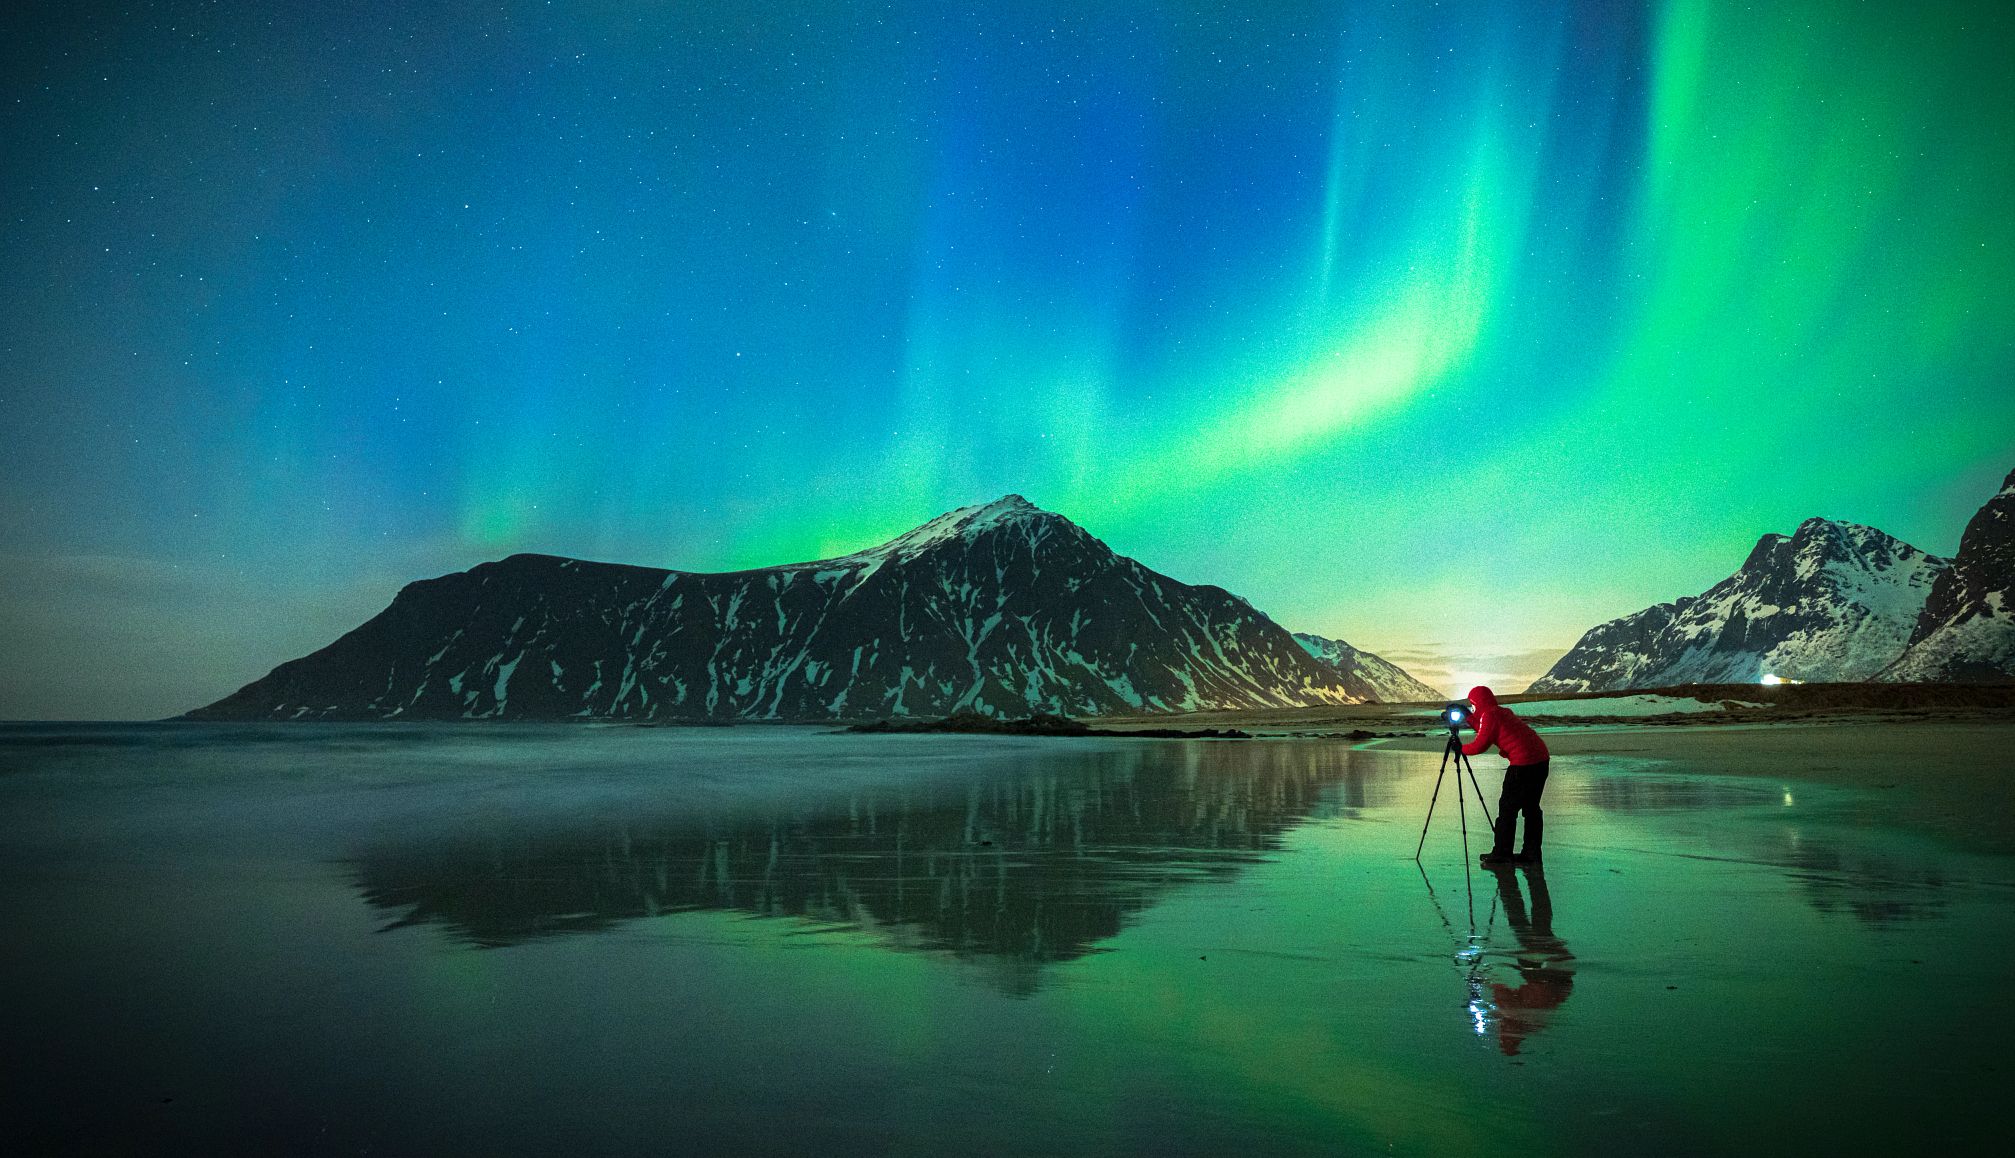
spinner image a person taking a picture of the northern lights
A photographer tries to capture the northern lights on Skagsanden beach in Flakstad, Norway. No matter the camera, you can take stand out photos of the aurora borealis.
Getty Images

As soon as the phone rang, I jumped out of bed, knowing what the voice on the other end of the phone would say as soon as I answered: “They’re out.” It was about 1 o’clock in the morning but I didn’t hesitate to rouse my 80-year-old dad from his deep sleep. Bleary-eyed, we pulled on our second and third layers, laced up our boots and stepped outside into the frigid night. There they were – the northern lights dancing across the night sky above Borealis Basecamp outside of Fairbanks, Alaska.

Seeing the northern lights in person had long been on my dad’s bucket list, and he’s not alone in having one. According to AARP’s 2024 Travel Trends report released earlier this year, 60 percent of travelers in my dad’s age range have a travel bucket list; so do 69 percent of travelers between the ages of 60 to 69, and 75 percent of travelers in their 50s. And those who are keen on checking off seeing the northern lights are not alone – 61 percent of travelers want to see the northern lights, according to an Expedia survey. What’s more, the next few years are expected to be prime viewing of the northern lights because of the solar cycle when the sun is more active, according to Space.com, the leading source of space exploration and astronomy news. The activity occurs every dozen years or so.

In the U.S., the northern lights are visible not only in Alaska, but also in northern Maine, Michigan and Minnesota. While the northern lights are most often seen closest to the magnetic poles, they were seen as far south as Washington, D.C., and Virginia earlier this year. Outside of the U.S., the northern lights can be seen in Canada, Finland, Greenland, Iceland, Norway and Sweden.

My dad and I were in the far reaches of North America at the tail end of our tour with John Hall’s Alaska when we checked the northern lights off his bucket list. A few days prior, we met Frank Stelges, 57, a photographer and instructor with the McKay Photography Academy that offers photography tours around the world. Stelges fell in love with Alaska and the northern lights during a cross-country motorcycle trip in 2007. After several return trips, he and his wife, Miriam, moved from their German homeland to Fairbanks in 2016. They have been leading northern lights photography workshops through their company, Aurora Bear, ever since.

During our mini-workshop, Stelges shared his top tips for capturing the northern lights, no matter the type of camera you may have. But first, he explained why photographs capture the lights better than what we see with the naked eye.

“The eye has basically a tenth of a second exposure time,” Stelges explains. “When you shoot now with a camera with one second, which is really, really short exposure time, that’s already 10 times longer [than your eye], so you collect 10 times more photos. …

“It’s not that the camera magically enhances [the picture], it’s just able to collect more photons over a longer period of time,” he continues. “That’s why the picture just right out of the camera looks better – there is nothing enhanced, the camera sees exactly the same photons like you and me do, it’s just collecting more photons and that’s why the picture looks better than what you see in reality.”

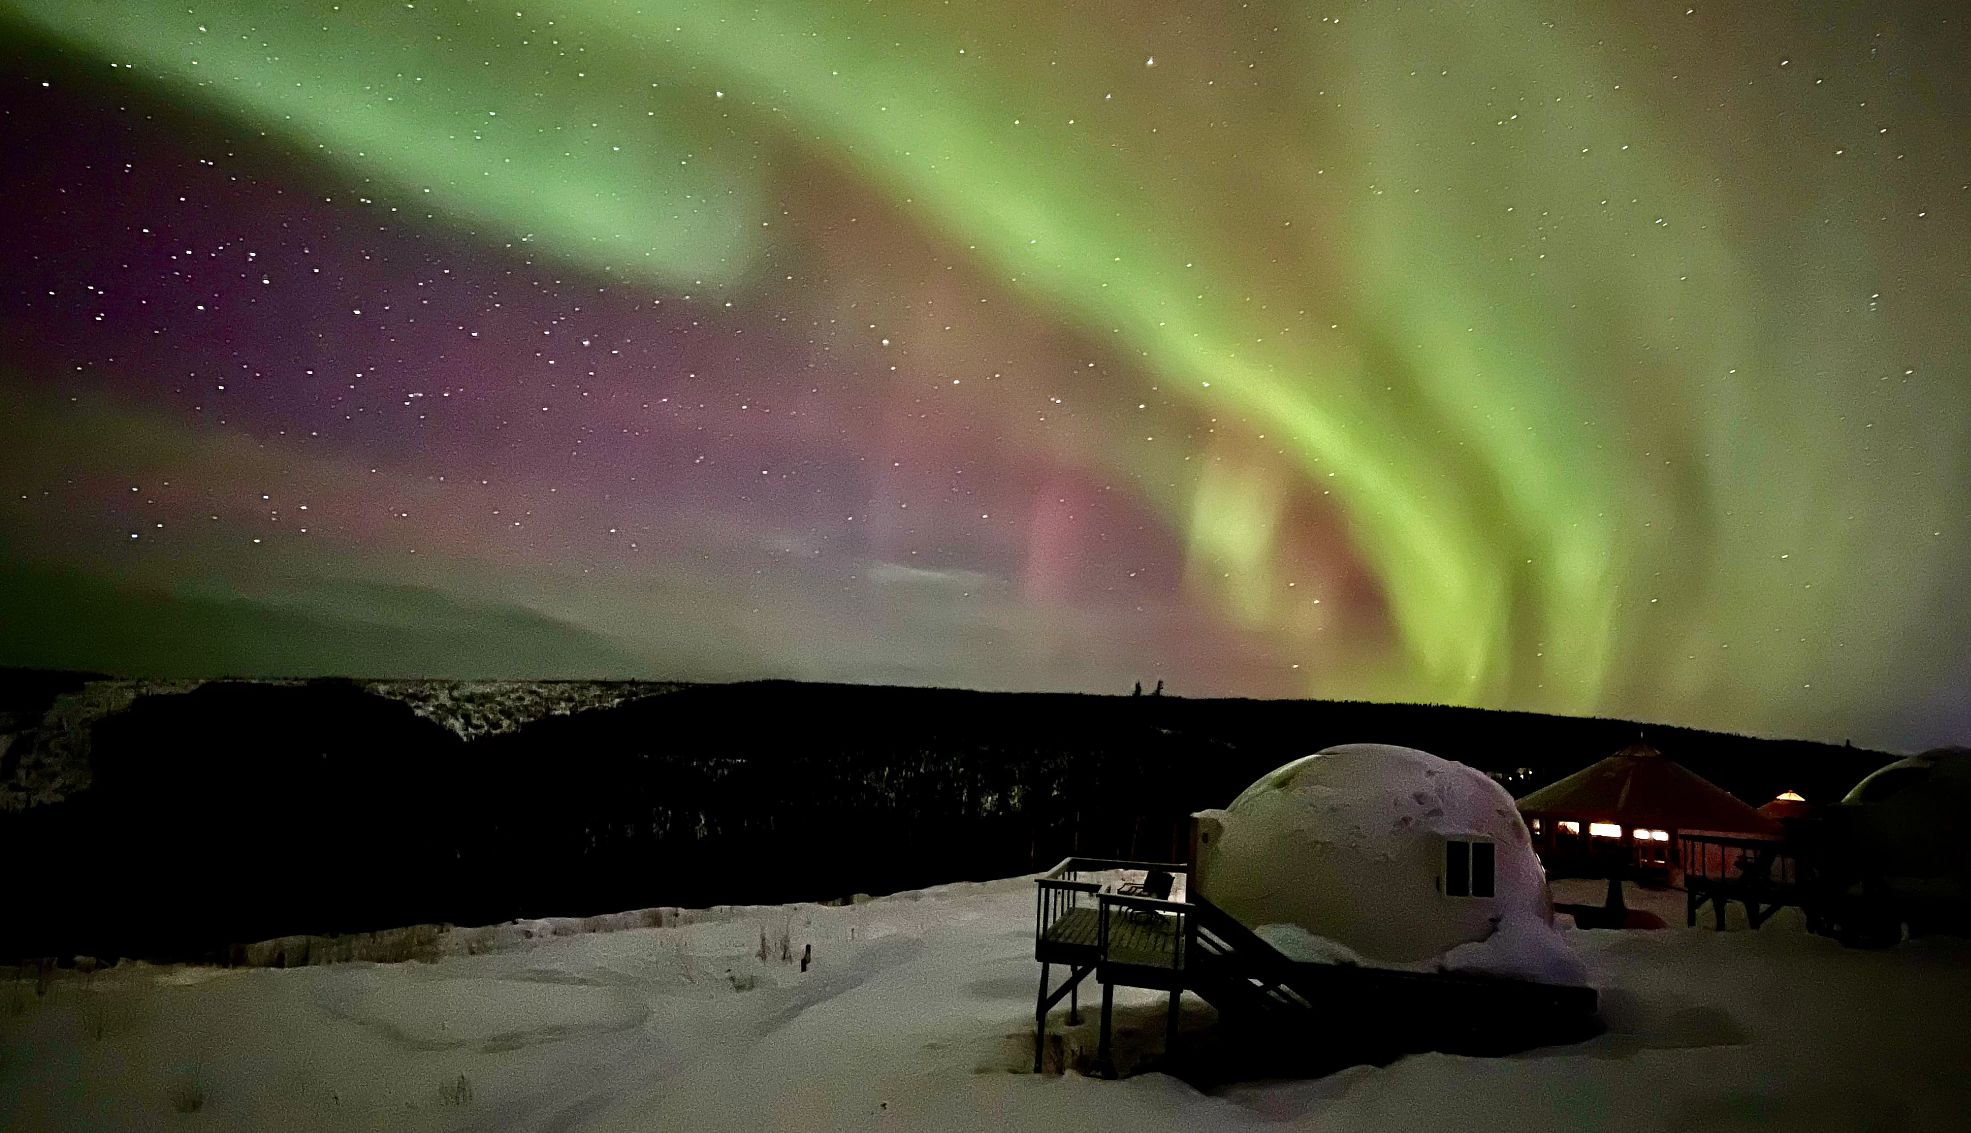
spinner image the northern lights
“You don’t need to be a professional photographer or own professional camera equipment to capture the lights,” says amateur photographer Mark Seidl, who generally uses a smartphone or a GoPro.
Courtesy Mark Seidl

Mark Seidl, 63, an amateur photographer and retired radiologic technologist who lives in Ohio, has photographed the northern lights in Alaska.

“You don’t need to be a professional photographer or own professional camera equipment to capture the lights,” says Seidl. “A smartphone is what I use mostly, along with my GoPro for time-lapse images.

“You can’t see them if you don’t look,” he adds. “The northern lights are not scheduled or a regularly planned event. You have to get up and look; some of my most awe-inspiring images were captured because I just got up and looked.”

Regardless of the type of camera you’re using, Stelges suggests using a tripod or something like it to stabilize the camera; and turn on the self-timer or use a remote control to avoid jarring the camera when pressing the shutter. He also says that when you’re outside, your eyes adjust to the darkness making your camera screen appear brighter than it is. To counter, shoot a little bit brighter than you think you should.

As far as setting up the shot, Stelges suggests zooming in on the shadows, e.g. trees in the foreground, to focus in on details and find the right exposure. Having something in the foreground provides a reference to the size of the aurora, he says, adding a nice composition will help pictures stand out. From his experience, including trees or a reflection in a lake always make for a better photo.

Here, Stelges’ top tips for photographing the northern lights no matter the camera.

spinner image trees with snow covering and the northern lights in the background
Frank Stelges recommends having something in the foreground to provide a reference to the size of the aurora.
Courtesy Aurora Photography

Smartphone camera

“When I started the business here in 2016, phones were so bad there was no chance that you could get somehow a decent photo,” Stelges says. “But modern phones from the last two generations are really, really awesome … and it’s super easy. … Basically, you don’t have to do anything. You can improve it a little bit, but just out of the pocket the phone shoots a pretty good northern light photo immediately.”

  • Turn off “live” mode
  • Turn off flash
  • Turn on Pro mode
  • Adjust the ISO and exposure/brightness to your preference

Compact camera

Before traveling to photograph the northern lights, Stelges suggests playing with your compact camera to see which settings work best.

“Light a tea light in your bathroom and take some pictures there in a completely dark room. See how it works and play with your camera,” he suggests. “Play with the different settings and look at what you like … . That’s definitely something people should play with before they head out to a major event, where time is really precious.”

  • Switch to manual mode
  • If there isn’t a manual mode on the camera, use programmed modes such as scenes, night, fireworks, night portrait, or moon
  • Use manual focus and adjust to the mountain or infinity symbols
spinner image The northern lights dance above the trees
The northern lights dance above the trees as seen in this image from Frank Stelges.
Courtesy Aurora Photography

DSLR/mirrorless camera

“Most of the time, [DSLRs are] actually the easiest [cameras] because you have full access to every value,” Stelges says. “That’s the huge advantage of these cameras – you can really adjust every single value to what you want, and you’re not limited by weird algorithms or whatever restrictions they built into your [smartphone or compact] camera.”

  • Turn on manual mode
  • Adjust ISO to a high value, approximately between 2000 and 6000
    • If shooting in JPG, turn on high ISO noise reduction
    • Turn on long exposure noise reduction if available
  • Adjust aperture to the widest level available on your lens
  • Adjust shutter speed to full seconds and shoot as fast as possible
  • Once adjusted, leave the ISO and aperture alone, and play only with the shutter speed
  • Turn on manual focus
  • Adjust to infinity symbol or focus on the stars/moon
  • If using a tripod, turn off vibration reduction at the lens

Stelges has one last piece of advice to share with all photographers, which he gleaned from his wife, Miriam.

“Take some pictures with your heart and not only your camera,” he suggests. “Pictures should help you remember your experience; it should not be the experience. Sit back, look, enjoy and take some pictures with your heart, and then take pictures with your camera.”

Unlock Access to AARP Members Edition

Join AARP to Continue

Already a Member?

AARP Travel Center

Or Call: 1-800-675-4318

Enter a valid departing date

Enter a valid returning date

Age of children:

Child under 2 must either sit in laps or in seats:

Enter a valid departing date

Age of children:

Child under 2 must either sit in laps or in seats:

Enter a valid departing date

Age of children:

Child under 2 must either sit in laps or in seats:

Flight 2

Enter a valid departing date

Flight 3

Enter a valid departing date

Flight 4

Enter a valid departing date

Flight 5

Enter a valid departing date

+ Add Another Flight

Enter a valid checking in date

Enter a valid checking out date


Occupants of Room 1:


Occupants of Room 2:


Occupants of Room 3:


Occupants of Room 4:


Occupants of Room 5:


Occupants of Room 6:


Occupants of Room 7:


Occupants of Room 8:


Enter a valid departing date

Enter a valid returning date

Age of children:

Occupants of Room 1:

Age of children:


Occupants of Room 2:

Age of children:


Occupants of Room 3:

Age of children:


Occupants of Room 4:

Age of children:


Occupants of Room 5:

Age of children:

Age of children:

Child under 2 must either sit in laps or in seats:

Enter a valid start date

Please select a Pick Up Time from the list

Enter a valid drop off date

Please select Drop Off Time from the list

Select a valid to location

Select a month

Enter a valid from date

Enter a valid to date