Javascript is not enabled.

Javascript must be enabled to use this site. Please enable Javascript in your browser and try again.

Skip to content
Content starts here
CLOSE ×
Search
Leaving AARP.org Website

You are now leaving AARP.org and going to a website that is not operated by AARP. A different privacy policy and terms of service will apply.

AARP Smart Guide to Reducing Food Waste

49 tips on extending the life of your food and saving money


spinner image Different vegetables in air above glass dish above garbage can
AARP (Getty Images, 3)

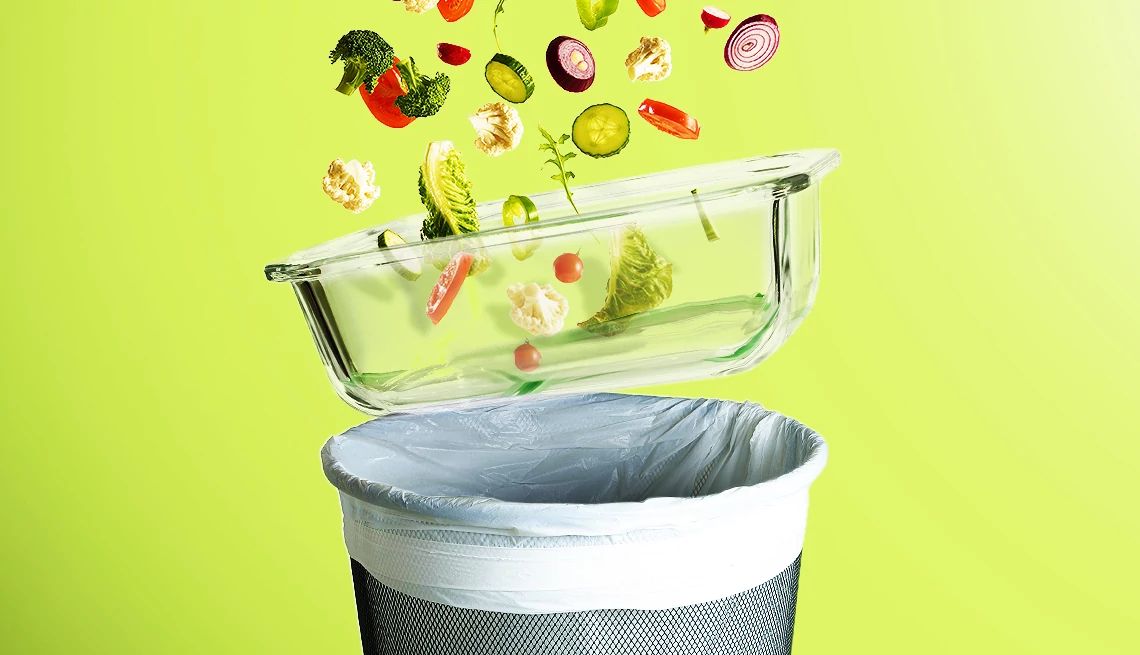
Americans throw out more than 400 pounds of food per person annually, according to research from the National Resources Defense Council (NRDC). For a household of four, that’s an average of $1,800 wasted each year. It’s a lot of food — and money — to toss away, especially for those over 50 who might be on a fixed income. Here are 49 tips on reducing food waste, a veritable grocery list of ways to save.

spinner image Image Alt Attribute

AARP Membership— $12 for your first year when you sign up for Automatic Renewal

Get instant access to members-only products and hundreds of discounts, a free second membership, and a subscription to AARP the Magazine. 

Join Now


spinner image Hands holding cell phone with grocery list on it, above cart, in front of apples
Getty Images

PLANNING AHEAD

1. Take stock of your inventory

Explore your refrigerator, freezer and pantry before making your grocery list. This will inform your shopping decisions and prevent overbuying. “Check not only which items you have, but how much you have left of remaining ingredients that you may be using such as flour, sugar, rice, etc.,” says Stephanie De La Hoz, program director with Move For Hunger, a nonprofit that collects and delivers surplus food to those in need.

2. Be realistic

How often do you plan to cook seven nights a week but only cook four or five nights instead? Something always comes up, like a hectic day that ends with convenient takeout or a lazy bowl of cereal. Changes to your cooking schedule contribute to waste, so plan for a few nights off each week.

3. Let the discounts guide you

Check your grocery store’s sales flyer, website or app to see if items you normally buy are on sale, suggests Mary Bryant Shrader, author of The Modern Pioneer Cookbook and creator and host of the Mary’s Nest YouTube channel. Add those products to your grocery list and build meals around them. Shrader also likes to maximize her shopping dollars by checking the clearance aisle for staples.

4. Lean into leftovers

If you make a meal you can’t finish before it goes bad, such as a big batch of homemade spaghetti sauce or chili, De La Hoz suggests packaging smaller portions and freezing them. “Or give some to neighbors and friends,” she says. “Soups can be easily frozen and warmed up when needed.”

5. Consult a portion calculator

Not a fan of leftovers? Calculate exactly how much food to serve so that everyone at the table is satisfied. Todd Lawrence, executive director of Urban Green Lab, a Nashville nonprofit that teaches communities how to live sustainably, suggests consulting the Guest-Imator. It’s an online meal-planning tool developed by SaveTheFood.com, a campaign from the NRDC. Select the number of people dining, answer a couple of questions about their eating habits, and it’ll determine the appropriate serving sizes for sides, the main dish and dessert, too. Additionally, apps such as Eat This Much and BigOven can help you plan meals and avoid food waste.

6. Grab from the back at the store

Most grocery stores restock shelves from the back, so items at the front are likely to expire sooner. If you don’t plan on using the item in the next few days, grab one from the back of the shelf.

7. Choose double-duty ingredients

Once you’ve mapped out your meals for the week, see what ingredients they share to create a more versatile shopping list. For instance, if you buy shredded cheese for a taco dinner on Monday, use it again to top loaded baked potatoes on Tuesday, then add it to an omelet over the weekend. (Omelets are also great for using up extra veggies and meats.)

8. Make substitutions

“If there are recipes that use ingredients you don’t use often, consider skipping the ingredient or swapping it for something you use more frequently,” De La Hoz says. She says some ingredients have easy substitutions, like parsley for cilantro or milk for heavy cream. If you do buy the special ingredient, look for ways to use it up beyond that one recipe.

9. Make a grocery list and stick to it

You’re less likely to stray from your intended purchases if you make a list. Use pen and paper (or an app like Mealime, Paprika or PlateJoy) to plan what you’ll cook each day of the week. “When making your list, record how much of an item you need, so you don’t accidentally purchase 40 ounces of cheese when you only need 16 ounces,” Lawrence says.

10. Resist temptation

Do you really need items that aren’t on your list? Think hard about impulse purchases, especially if you’re shopping hungry. “Challenge yourself to stick to your list to get the most out of the items you actually need,” De La Hoz says. Another trick? Avoid stores altogether and use grocery delivery services like Instacart, Hungryroot or Shipt instead.

11. Shop like Europeans do

Europeans tend to have smaller kitchens, pantries and refrigerators, so they typically only buy a few days’ worth of groceries at a time. Try to emulate this practice. “It’s better to buy fresh food every couple of days than stockpile your groceries in large quantities,” says Steven Satterfield, the James Beard Award–winning chef of Miller Union in Atlanta. His first cookbook, Root to Leaf, focuses on using all parts of a plant to reduce waste. “Purchasing food in smaller increments means less chance of waste and more awareness of what you have on hand.”

 

spinner image Hands picking up peaches from a pile
Jeff Wasserman/Stocksy

FRUITS AND VEGETABLES

12. Rinse all produce

Even if they claim to be “prewashed,” give your fruits and vegetables a thorough cleaning. De La Hoz suggests soaking them in a bowl with one part vinegar and two parts water for 5 to 10 minutes. “Not only does this remove pesticides and other chemicals, it also helps extend the freshness of the produce,” she says. For larger and firmer produce like apples, potatoes and zucchini, the U.S. Department of Agriculture (USDA) recommends washing under running tap water and scrubbing with a brush to remove any dirt. Never use detergent, soap or commercial produce washes — they aren’t recommended by the Food and Drug Administration, and you could end up ingesting their residue.

13. Dry all produce well

Extra moisture can make some produce rot faster, so Shrader says make sure you know which items can be stored with moisture and which cannot. “For example, carrots are best stored with the green tops removed and then wrapped in a damp towel and placed in an airtight container,” she says. “On the other hand, lettuce is best stored in an airtight container once completely dry and moisture free.” Air-dry produce on the counter on top of a cloth or paper towel before storing.

14. Test your berries

Flip over your berries’ container at the grocery store — if any stick to the bottom, they won’t last as long. “Choose berries that look bright and firm with minimal soft spots,” De La Hoz says. “Ensure that there are no signs of mold or liquid present in the container.”

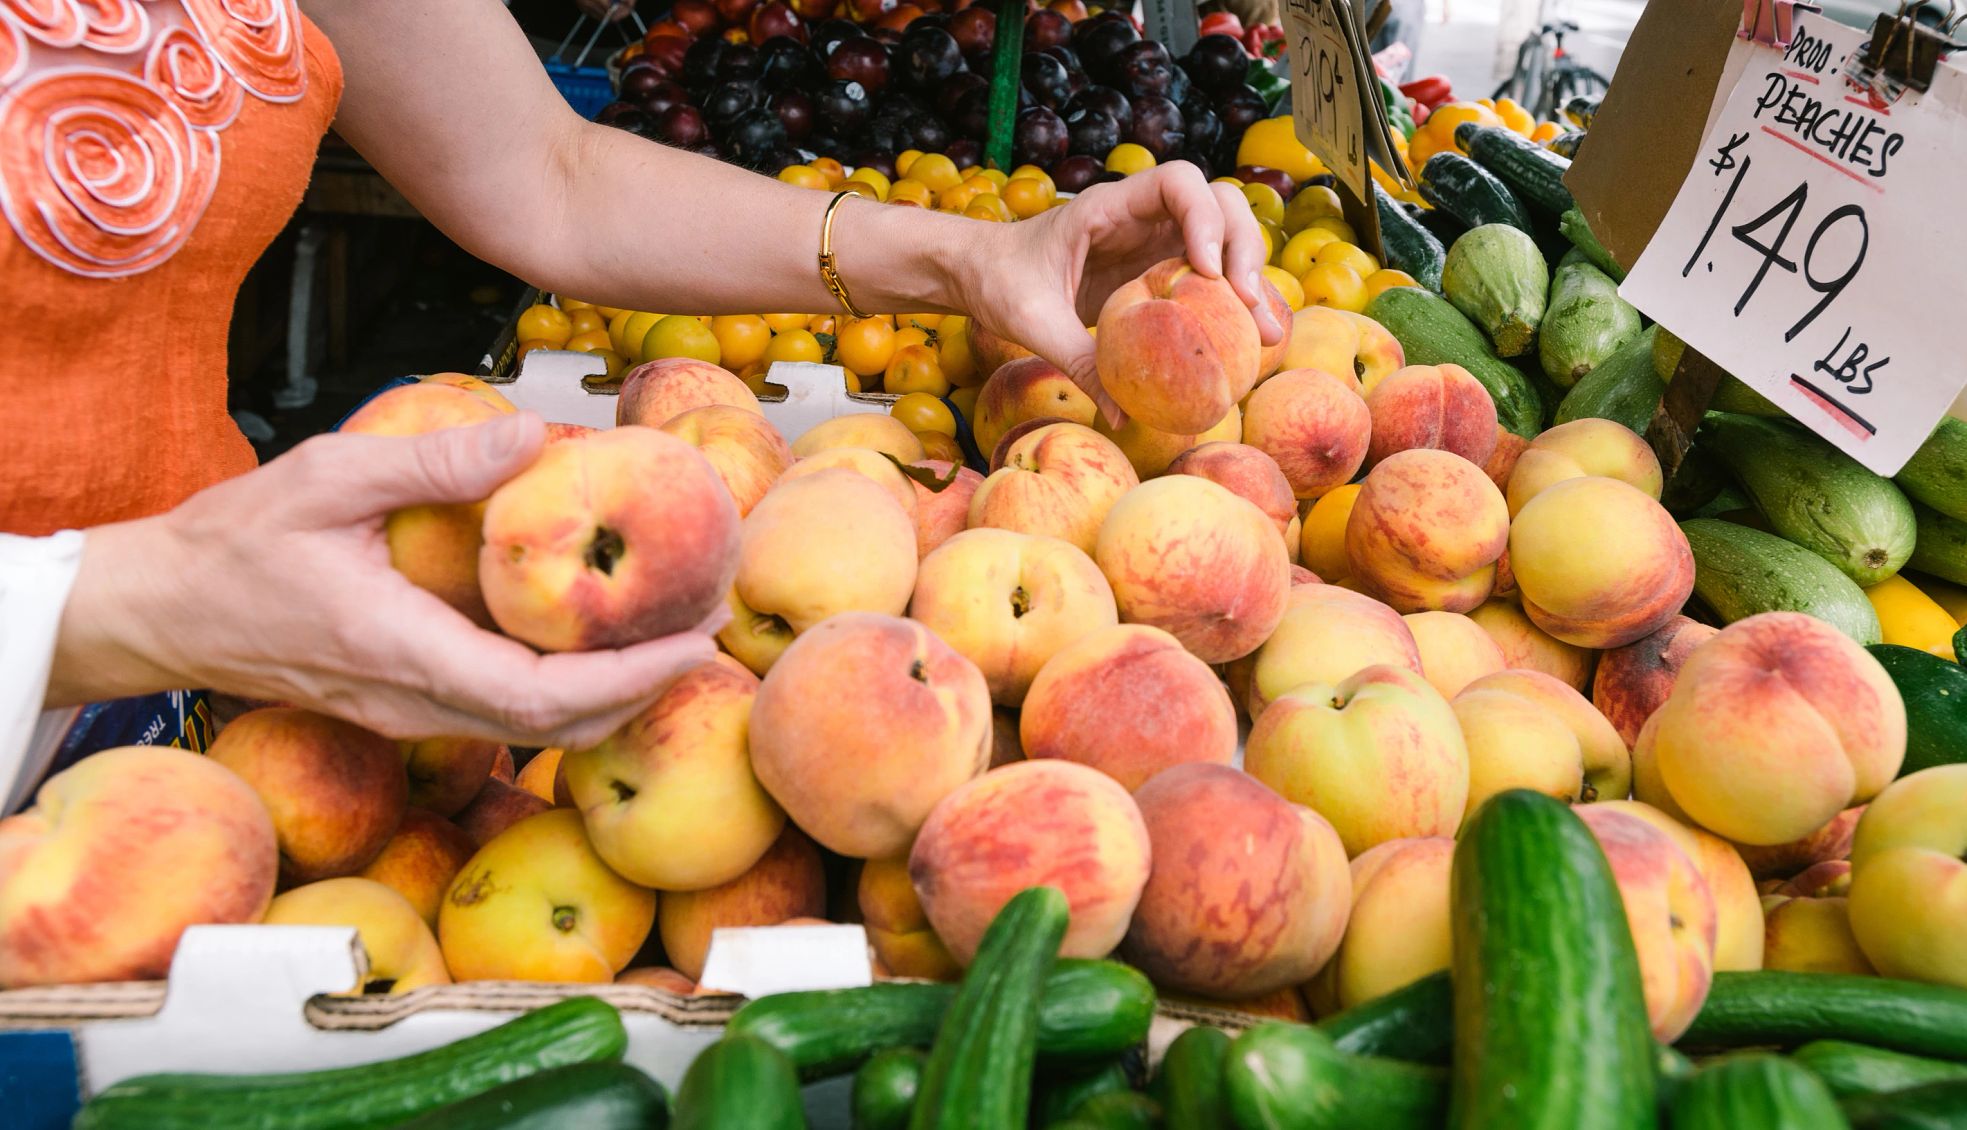
15. Pick the ugly fruit

Nobody’s perfect, including fruits and veggies. “The demand for perfectly shaped and sized fruit and veggies leads to enormous waste in our food system,” says Jessica Josephine Synkoski, vice president of sustainability and corporate social responsibility for Sodexo North America, a food services and facilities management company. “There’s no difference in taste between a curved carrot and a straight one.” Services like Imperfect Foods, Hungry Harvest and Gotham Greens embrace imperfections by delivering groceries with cosmetic quirks right to your doorstep. It’s important to note that ugly doesn’t mean damaged — avoid produce with bruises or gashes, as those items may rot quickly.

16. Shop farmers markets early

If you go to a farmers market early, De La Hoz says you’ll have first pick of the produce. This allows you to select the freshest fruits and vegetables. That’s​ especially helpful on warm days, when the sun and heat could cause produce to wilt or spoil quicker. Synkoski says the farmers market is also an ideal place to pick up ugly fruits and veggies.

17. Separate certain fruits and veggies

Some fruits produce gases when they ripen. Keep them away from other fruits and veggies to minimize adverse reactions, including diminished quality and over-ripening. “Bananas are known to have this effect when placed next to other produce items, so consider storing them separately from other produce,” De La Hoz says.

18. Eat items with shorter shelf lives first

Hearty produce (apples, pears, beets, carrots, garlic, onions, potatoes and winter squashes) has a longer shelf life, so plan to eat items like berries, cucumbers, eggplant, green beans, mushrooms and summer squash earlier in the week. “Arrange your refrigerator to help keep your plan on track,” says Synkoski, who recommends placing items with a shorter shelf life where you can see them, so they remind you to pick them first.

See more Health & Wellness offers >

19. Store fresh herbs properly

Herbs tend to have a shorter shelf life, so try to prepare recipes using them within a few days of grocery shopping. If you frequently use herbs in your cooking, De La Hoz suggests growing them in your yard or having small plants in your kitchen for easy access. It’s also easy to freeze herbs for later use. “Whirl fresh basil and olive oil in a blender or food processor and pour into ice cube trays,” Shrader says. “Once frozen, transfer basil cubes to an airtight freezer-proof container.” When you’re ready to use the basil, toss a cube or two directly into a hot pot or frying pan in place of plain olive oil to add a punch of flavor to sautéed winter veggies, potatoes or a stew.


spinner image Hands holding air tight container with food in it, in front of open fridge full of fruits and vegetables
Getty Images

STORAGE AND USAGE

20. Learn the truth about expiration dates

According to a survey published in 2023, a third of American households often or always throw away food based on the date on the packaging. Other research shows that consumers are frequently confused by “sell by,” “use by” and “best before” dates on labels. (According to the USDA, “sell by” tells the store when it should remove a product from the shelves, “use by” is the recommended date to use the product while it’s still at peak quality, and “best before” describes when a product will be at its best flavor or quality.) Unfortunately, there are currently no federal standards for date labels on food products. “In most cases, date labels are about food quality, not safety,” says Dana Gunders, president of ReFED, a national nonprofit working exclusively to end food loss and waste across the food system, and author of Waste-Free Kitchen Handbook: A Guide to Eating Well and Saving Money By Wasting Less Food. “Use your best judgment when it comes to date labels — if it looks good, smells good and tastes good, it’s probably OK to consume after the date. For example, eggs are generally good to eat four to five weeks after the date on the carton.” To double-check an egg, put it in a pot of water; if it sinks to the bottom, it’s still fresh.

21. Know which produce gets stored where

Some items last longer when refrigerated, while others do better at room temperature. “In general, most fruits and vegetables last longer when they’re refrigerated, although some (like bananas and melons) should ripen on the counter first, and others (onions, squash, potatoes, tomatoes) shouldn’t go into the fridge at all,” Gunders says. According to Lawrence, when storing vegetables like carrots, celery or fresh herbs, place them in your fridge in a glass of water like a bouquet of flowers to help them stay crispy for longer. For other specific storage recommendations, consult the comprehensive chart on SaveTheFood.com/storage. For a wide range of food safety tips including storage, check out FoodSafety.gov. And the USDA’s Nutrition.gov site is also chock-full of advice for storing food. 

22. Set your fridge to the right temperature

Gunders says the colder the temperature, the less hospitable the environment is for bacteria and enzymes that can make your food go bad. The target temperature for your refrigerator is at or below 40 degrees Fahrenheit. If it’s too cold, delicate foods like salads can freeze. If it’s too warm, the food can spoil more quickly or pose a health risk. If your fridge simply has a dial that reads “cold” and “coldest,” use a thermometer to determine the correct setting.

23. Learn your way around your fridge

Your refrigerator is not a single consistent temperature. “Since heat rises, a refrigerator is generally coldest on the bottom and gets warmer as you go up, with the warmest area being the door,” Gunders says. She suggests using the warmer upper shelves for less risky items like leftovers, drinks, yogurt and snacks. Use the colder bottom shelf for meat, poultry, fish and other food with a higher safety risk. Crisper drawers serve two functions: First, they create different humidity zones within the fridge. Second, they allow different treatments of products that could benefit from more airflow. Designate one as a low-humidity drawer (for fruits and vegetables that rot more easily) and another as a high-humidity drawer (for vegetables more likely to wilt). If the drawers in your fridge aren’t adjustable, just leave one open a crack for your low-humidity drawer. The door is the warmest part of your fridge, since it gets a dose of room-temperature air every time you open it. It’s a good place for condiments and anything that’s not even moderately perishable.

24. Toss it or eat it?

Most foodborne illnesses come from contamination, not from the natural process of decomposition, Gunders says. She adds that browning (like on apples and avocados), discolored greens, scars, staleness, wilting or wrinkling are generally harmless. (If your produce is bruised, promptly cut the bruise off and it should be fine.) Things to toss include green potatoes, mold spots (cut at least a half-inch off before eating the rest) and rancid foods (like nuts or oils).

25. Conduct a waste audit

Despite the best intentions, some food is wasted each week. A waste audit is the best way to figure out what and how much you waste — and therefore where you should focus your waste reduction efforts. Gunders suggests auditing yourself for at least two weeks. Keep a daily log of any edible item you throw out, the quantity discarded, the reason it was tossed and its approximate value. After two weeks, look at which items come up most frequently and which ones cost the most. Consider how you could have avoided the waste (bought too much, didn’t use it in time, grabbed takeout too often, didn’t know how to cook it, didn’t store it properly, never felt like eating it, etc.) so you can identify ways to change.

26. Donate to a food pantry

Food pantries are always looking to accept donated groceries to help struggling seniors and families. Consider donating fresh food, pasta, canned beans and tuna, rice and cooking oil.


spinner image Person writing on sticky note on a container full of food
Getty Images

SHELF-STABLE PRODUCTS

27. Organize your pantry

To avoid food waste, establish an organizational system for boxed and canned goods. “Make sure that you are using a first-in-first-out pantry system to consume your shelf-stable food at its peak freshness,” Shrader says. “However, don’t immediately throw out your shelf-stable food if you find something past its best-by date.”

28. Move spices and oils away from light and heat

Don’t store oils and spices near the hot stove or sunlight. They can dry out, go rancid or lose flavor faster. Move them to a cooler, darker spot, like your pantry. Not sure if your olive oil has gone rancid? There’s an easy test: “Place a drop of olive oil on the palm of your hand and rub your hands together vigorously for about 10 seconds,” Shrader says. “Then smell your palms. If there is a pleasant green-grass aroma, your olive oil is still fresh.” If the aroma is more pungent, almost like turpentine, your olive oil has turned, so don’t consume it. However, don’t toss it — it’s still good for household tasks like oiling noisy door hinges.

29. Tossing excess packaging? Label everything clearly

If you follow the social media trend of storing pasta and cereals in aesthetically pleasing containers, be sure to label them clearly so you know what they are and when you bought them. “And most important, be sure to include labeling for all dry goods that need to be cooked, indicating cooking times and/or liquid measurements per cup,” Shrader says. “No one wants mushy pasta or rice floating in unnecessary liquid.”

30. Keep an eye on condiments

Most condiments are shelf stable until opened, so double-check the packaging to see if they need to be refrigerated. According to the USDA, here’s how long open condiments in the fridge should last: six months for ketchup and cocktail sauce, 12 months for mustard, one to three months for pickles and two weeks for olives. “To avoid having to throw out crusty ketchup or moldy mayo, do not be seduced by super-sized condiments at big-box stores,” Shrader says. “Generally, try to buy the smallest-sized condiment bottles and jars you can. Your condiments will be fresh and ready for use and very little, if any, will be wasted.”


spinner image Frozen foods in baggies and containers
Getty Images

FROZEN FOODS

31. Buy frozen fruits and veggies

Studies show that frozen fruits and vegetables can be just as nutritious as fresh. “And in some cases, they’re more nutritious, since they don’t lose nutrients along the way from the farm to your table,” Gunders says. By keeping frozen produce on hand, each week you’ll only need to buy a handful of fresh produce that you know you’ll eat, and you can save yourself a trip to the store if you run out.

32. Prep your food for the freezer

“Your freezer is a magic pause button that lets you store food for long periods of time without feeling the pressure of eating it quickly,” says Gunders, noting that pretty much anything can be frozen. If you plan to freeze something for more than a few days, she says it’s important to prep that food properly. For example, blanch vegetables and some fruits to maintain color and quality. (Blanching involves scalding produce with boiling water or steam for a short time, then quickly cooling it in ice or cold water.) Additionally, separate moist items like berries by first spreading them on a baking sheet in the freezer for half an hour before bagging them so they don’t clump together, and puree watery produce like tomatoes for future sauces and smoothies. Finally, a fatty piece of meat is more likely to go rancid, so trim the fat off and wrap the meat well using plastic wrap or freezer paper, then a layer of aluminum foil (you can also seal it in a zip-top freezer bag). Be sure to remove all the air to avoid freezer burn.

33. Keep track of your freezer inventory

While your freezer may serve as a magic pause button, it’s not a forever button. Quality does deteriorate over time, so Gunders says you should eat frozen foods within a few months. For specific items, follow this cold foods storage chart from the U.S. Department of Health & Human Services. 

34. Pack your freezer products properly

It’s easier to keep track of your freezer inventory when it’s packed properly. Gunders advises using clear, airtight containers and dividing the food into the right portions for easy defrosting and meal prep. Aim to save space. For example, put purees into freezer bags, then freeze them so they lie flat and take up less room. Don’t overload each container or the freezer — you need room for air to circulate around the packages. Finally, label the packages with the product’s name and freeze date.

35. Thaw your frozen items safely

Never thaw items at room temperature — it gives microbes the perfect conditions to thrive, Gunders says. Instead, she uses safer methods. The first is to thaw in the refrigerator for 24 hours; most items should remain safe for a few days. Another option is to place the item in a bowl of cold water and change the water every 30 minutes as it warms up — foods thawed this way must be cooked immediately. Finally, your microwave probably has a defrosting option, but you’ll need to cook food thawed this way immediately, too.


spinner image Steak in vacuum-sealed bag
Getty Images

STORAGE PRODUCTS

36. Mason jars

Glass mason jars with airtight lids are ideal for storing dry goods (think beans, lentils, pastas, nuts, seeds, rice, trail mix and dried fruit). Make sure you start with a clean, thoroughly dry jar each time. To maximize your space, look for stackable mason jars or a stackable set with latch-style tops. A pack of eight wide-mouth quart-sized jars is great for canning and storage.

37. Glass containers

“Be sure to invest in airtight containers that are preferably glass with snap-tight lids or screw-on lids for storing fresh produce,” Shrader says. For example, the OXO Good Grips GreenSaver produce keeper has a carbon filter to trap and absorb ethylene gas and slow spoilage. Glass Rubbermaid containers with microwave-safe lids are not only leakproof but also dishwasher-, freezer- and oven-safe. (However, the microwave-safe lids can’t be used in the oven.) Containers with separate compartments, like those from M MCIRCO, may encourage you to eat more leftovers or explore meal prep. 

38. Keep onions and potatoes separate

Onions, potatoes and other root vegetables stay fresher longer when stored in cool, dark places — and they don’t like to hang out together, because onions produce ethylene gas, which causes potatoes to ripen. Use simple bins or stackable wire baskets.

39. Specialty food savers

If you can name a food that’ll go bad, there’s probably a dedicated product to help save it. For avocados, look at the MSC International Joie Fresh Stretch Pod, the Food Huggers Avocado Hugger or the Tupperware Avocado Keeper. Silicone food savers can also help protect cut onions, tomatoes, bananas and other uniquely shaped produce items.

40. Store in silicone bags

Speaking of silicone food savers, silicone bags are another planet-friendly option that can replace expensive and wasteful single-use plastic baggies. Stashers brand reusable silicone storage bags come in a variety of colors and sizes. They’re also microwave- safe, dishwasher-safe and leak-free. Similar brands include Homelux Theory reusable bags and Qinline reusable food storage bags.

41. Silicone freezing trays

Have some leftover tomato paste or berries that are about to go bad? Freeze them into individual cubes for later use in sauces and smoothies. Silicone freezing trays also handy for freezing proper portions of food for leftovers. Three brands with solutions include Souper Cubes (which offers products that allow you to freeze leftovers into 1-cup portions), Bangp and W&P.

42. Herb savers

Keep your cilantro, basil, rosemary, oregano, parsley, mint, thyme and dill happy for as long as possible with a special herb keeper container. The Cole & Mason Fresh Herb Keeper fits in a refrigerator door and helps herbs last up to 10 days longer. Another popular choice is the Prepara Herb Savor Pod 2.0 or the OXO Good Grips GreenSaver Herb Keeper.

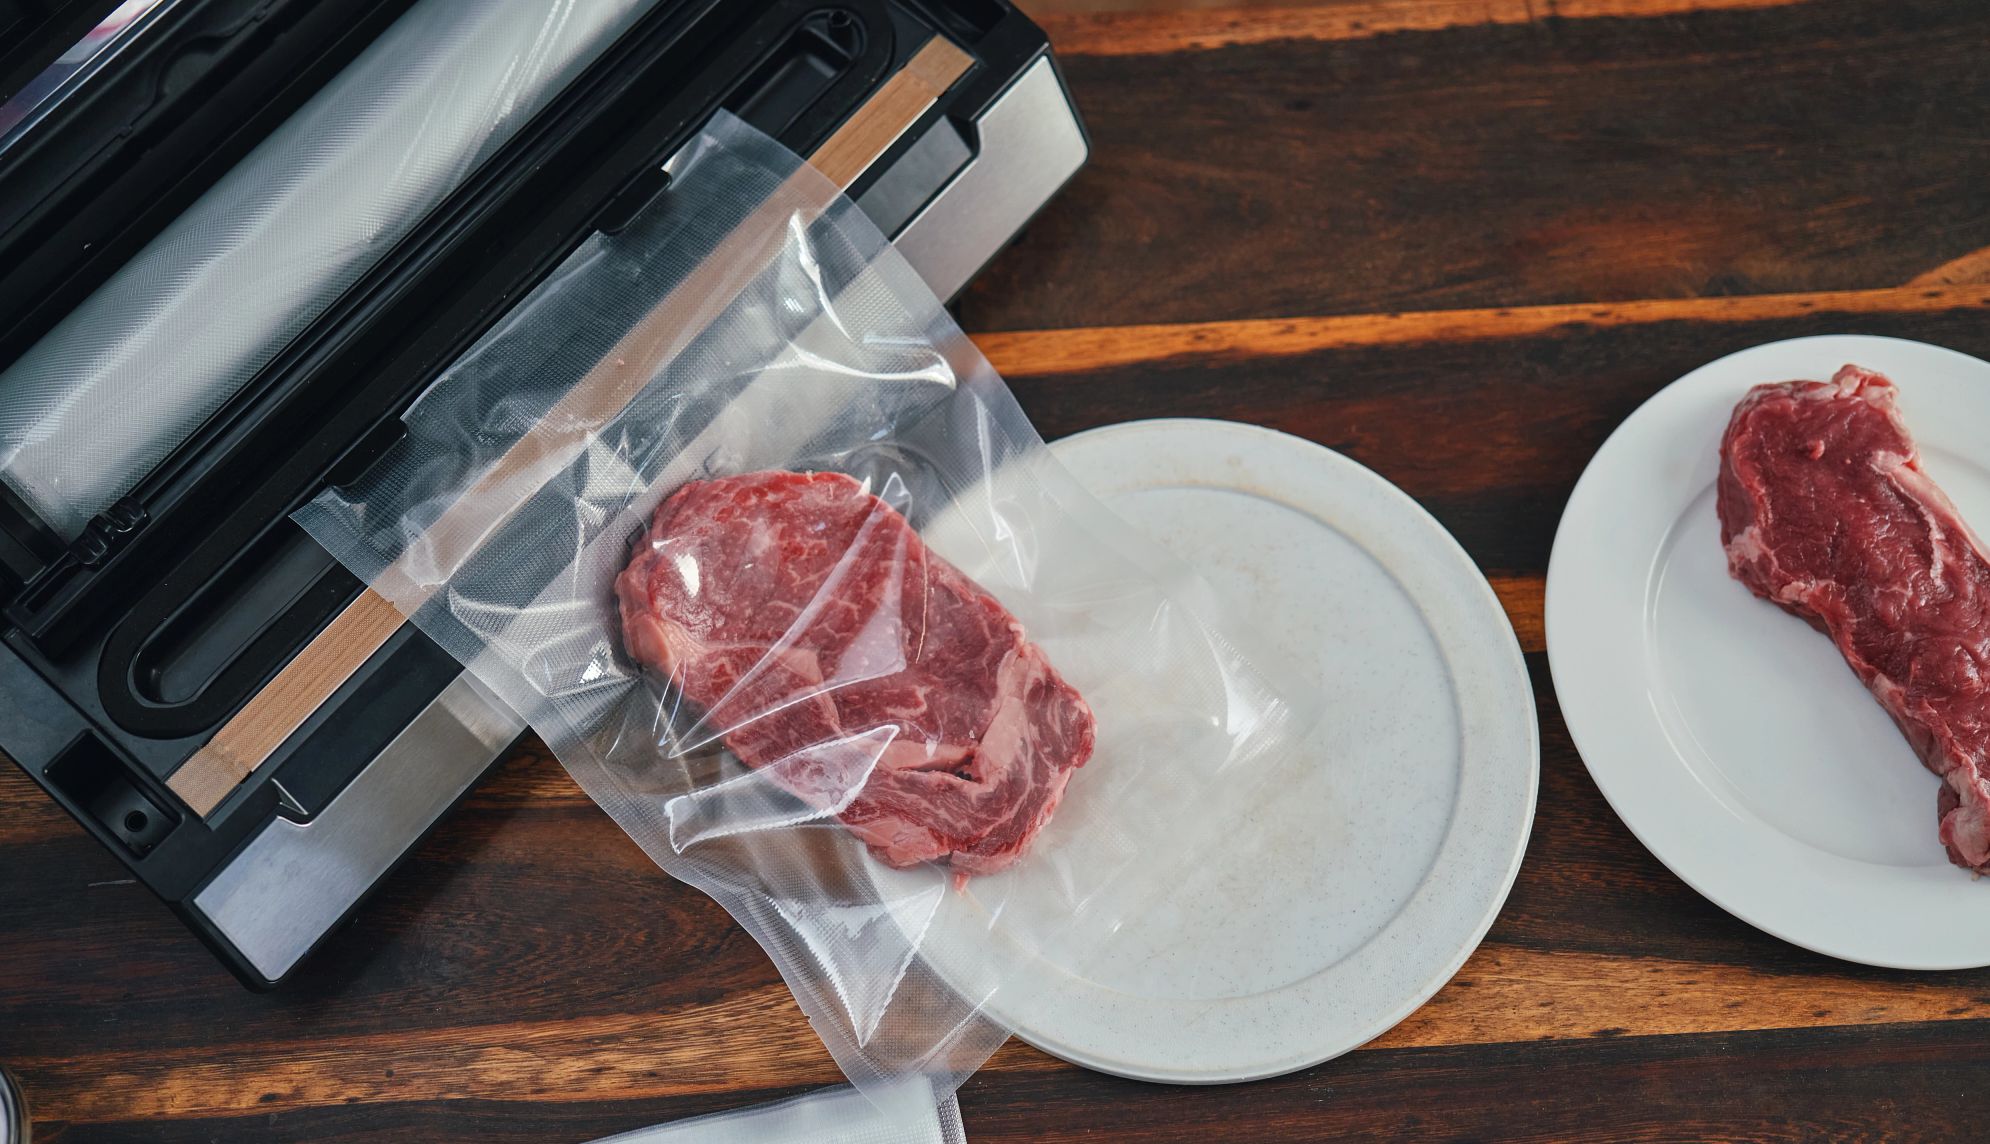
43. Vacuum sealer systems

Prevent freezer burn, keep food fresher longer and save space with a vacuum sealing machine. It’s an especially ideal storage solution if you buy food in bulk. For example, the FoodSaver VS0150 PowerVac compact vacuum sealing machine’s vertical design claims to save counter space. The Potane Precision Vacuum Sealer has various modes that allow you to customize settings for dry, moist, soft and delicate items. And the Zwilling Fresh & Save vacuum sealer machine is suitable for sous vide cooking.

44. Bottle sealer

Want to keep an open bottle of wine, juice or even oil fresher longer? The Zwilling Fresh & Save Vacuum Wine Bottle Sealer has an easy-to-use vacuum pump that helps slow down the oxidation process, which preserves aromas and flavors. Other wine savers include the Wotor system with four vacuum stoppers and the Vacu Vin wine saver pump.


spinner image Hands peeling food with a peeler, scraps falling on cutting board
Getty Images

FOOD SCRAPS

45. Get creative by using all parts of your food

Think “nose to tail” or “root to stalk” when cooking. Find creative ways to use every part of each animal or produce item. “Look for recipes online for carrot top soup or second-chance bread croutons,” Synkoski says. Want a flavorful vegetable broth? Freeze scraps of celery, onions, mushroom stems, bell pepper parts and herb stems, then simmer with water and seasonings for 20 minutes.

46. Challenge yourself

“Give yourself a final feast challenge at the end of the week, when you look in your fridge and pantry and make a whole meal out of only what you have,” Satterfield says. “Or simply start eating some of the pieces and parts you used to throw away. Savor the amazing food you can make from what you used to call trash.” For example, cook broccoli stems and leaves with the florets, create a marmalade from discarded citrus peels, or make a soup from odds and ends that you’d otherwise throw out. 


spinner image Garbage full of food scraps next to person cutting food on cutting board
Getty Images

COMPOSTING

47. Set up a compost bin or pile

Composting transforms your scraps into a nutrient-rich fertilizer for your garden, says Synkoski. Even if you’re tight on space, you probably have room for a small countertop compost bin, like the 1.3-gallon Utopia bin, the EPICA odorless composting bin or the 2.4-gallon option from Tiyafuro that hangs under your sink. If you have room outdoors, many larger options are available.

48. Collect scraps

To start backyard composting, collect your vegetable and fruit scraps, coffee grounds and even eggshells — Synkoski says they are all rich in nitrogen. Add them to carbon-rich materials like dry leaves, plant stalks and shredded cardboard (without the wax coating or tape). Steer clear of meat, fish, bones, dairy, pet waste or fats. “Layer food scraps and carbon-rich materials,” she says. “Keep the pile wet and well ventilated by mixing it occasionally. In as little as three months, your compost could be ready.”

49. Use that compost as fertilizer

Now it’s time to sprinkle your compost on top of flower and vegetable beds or blend with potting soil for indoor plants. Make too much? Synkoski says to check for agencies in your local community that will collect and use your compost.


Unlock Access to AARP Members Edition

Join AARP to Continue

Already a Member?